
So, you’ve unboxed your new Apple Watch, paired it, and the default watch face is staring back at you. Now what? The official setup guide shows you the basics, but let’s be honest, you want to use this thing like a pro, right?
As someone who’s worn an Apple Watch daily for years, I can tell you the *real* magic is in the shortcuts and custom settings that the manual barely mentions. Let’s skip the rookie mistakes and learn the features you’ll actually use every single day.
The Buttons: What They *Actually* Do (in 2025)
The first thing to learn is the hardware. The original guides are wrong. Here’s what the buttons *really* do on any modern Apple Watch.
The Digital Crown: Your Home Button & Scroller
This is your primary navigation tool. Think of it as a “home button” and a precision scroll wheel in one.
- Press Once: Jumps to your App View (either the “Honeycomb” grid or a List). Press it again to return to your watch face.
- Double-Press: This is a key pro-tip. It opens the App Switcher (the “Dock”), showing you all your most recent apps. This is the fastest way to jump between your timer and your messages.
- Press & Hold: Activates Siri.
- Scroll: Zooms in and out on the app grid, or (more importantly) scrolls precisely through lists, menus, and messages without you having to smudge the screen.
The Side Button: Your Control Panel & Wallet
This is your utility button. Rookie Mistake: New users forget this button exists. Don’t. It’s essential.
- Press Once: Opens the Control Center. This is where you find critical tools like “Ping iPhone,” Do Not Disturb, Silent Mode, and Wi-Fi toggles.
- Double-Press: This is the shortcut for Apple Pay. Double-press and hold your watch near the card reader. It’s a game-changer.
- Press & Hold: Brings up the emergency screen for Medical ID, Emergency SOS, and powering off the device.
The Action Button (Apple Watch Ultra Only)
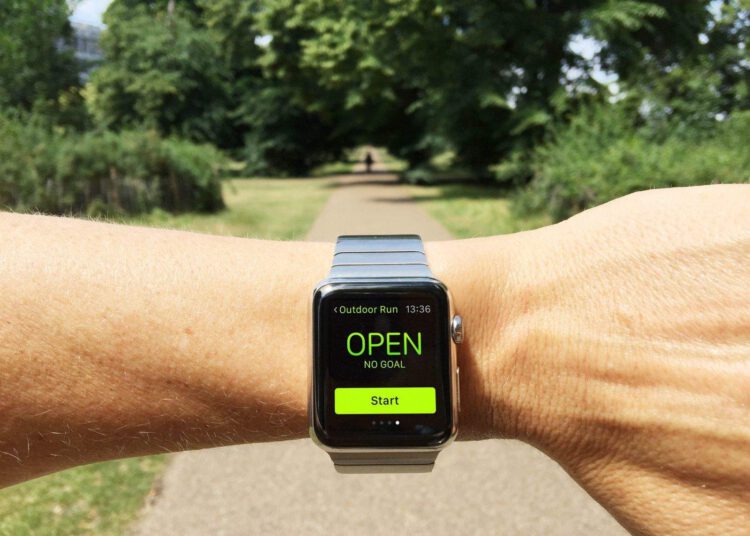
If you have an Ultra, this is your customizable shortcut. By default, it starts a workout, but you can set it in Settings > Action Button to run a shortcut, start a dive, or turn on the flashlight. It’s what makes the Ultra a true pro-level tool.
The First 3 Settings Every Pro Changes
The default Apple Watch setup is fine, but it’s not efficient. Go into the Watch app on your iPhone and change these immediately.
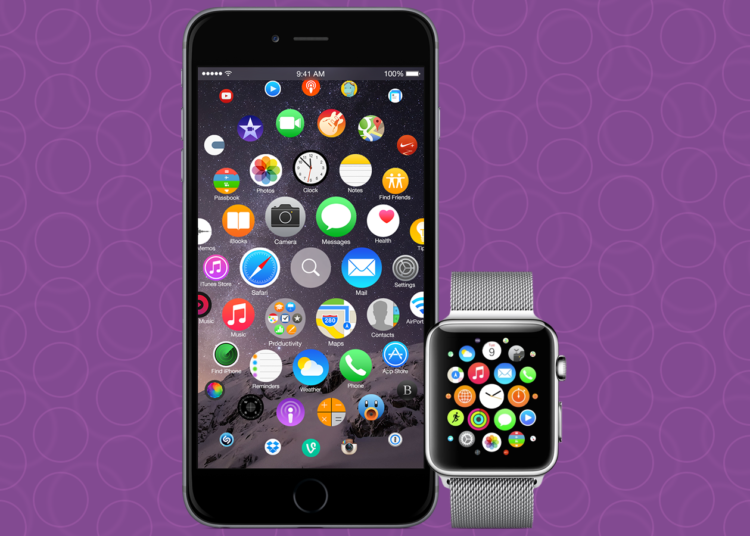
1. App View: Ditch the Honeycomb
That chaotic “honeycomb” grid of app icons? It’s terrible. You can never find anything.
The Pro Move: In the Watch app, go to App View > select ‘List View’. This instantly reorganizes all your apps into a clean, alphabetized list you can scroll through with the Digital Crown. It’s 100x faster.
2. Sound & Haptics: Go Silent and Strong
An Apple Watch that “dings” for every notification is obnoxious.
The Pro Move: On your watch, go to Settings > Sound & Haptics. Turn on “Silent Mode.” Then, under “Haptics,” select “Prominent.” Now, you’ll *feel* a strong, assertive tap on your wrist for notifications, but no one else will hear a thing.
3. Brightness & Text Size
The default text can be tiny. Go to Settings > Display & Brightness and bump up the Text Size and Bold Text. Your eyes will thank you.
Mastering the UI: Forget “Glances,” Use These
The original “Glances” (swiping up) were replaced *years* ago. Here’s how the modern UI (User Interface) works.
- Swipe UP from Bottom: Opens the Control Center (Ping iPhone, Mute, etc.).
- Swipe DOWN from Top: Opens the Notification Center. That little red dot at the top of your screen just means you have unread notifications. Swipe down to see them, then scroll to the top and hit “Clear All.”
- Swipe LEFT/RIGHT from Edge: This switches between your saved Watch Faces.
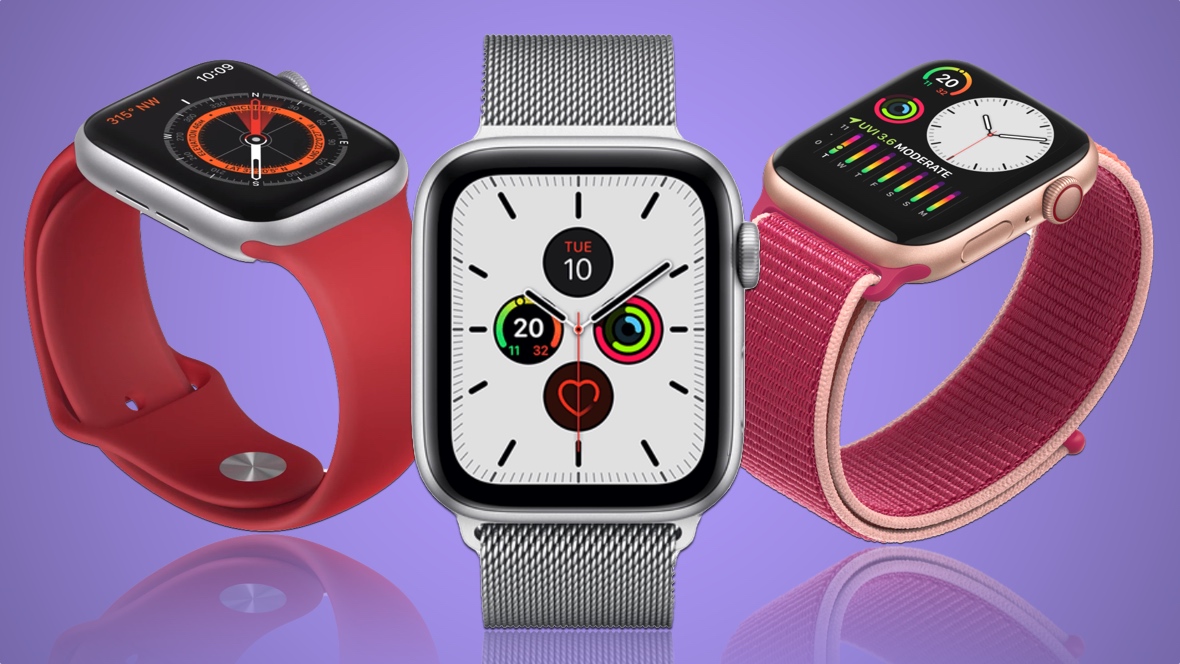
Customizing Watch Faces (The Right Way)
Your watch face is your personal dashboard. “Force Touch” is gone. To customize a face, just press and hold firmly on the screen.
This brings up the editor. Tap “Edit”. The key here is “Complications.”
Complications are the little info-widgets on the face (like the date, weather, or your activity rings). Tap a complication to change it. This is how you build a face that’s useful *to you*. I like to have the Battery, Weather, and my next Calendar event all visible at a glance.
Handling Core Apps: Calls, Messages, and Email
This is where the watch becomes a true convenience tool.
Phone Calls: When a call comes in, you can answer, deny, or (the pro-move) scroll the Digital Crown down to “Answer on iPhone.” This puts the call on hold until you grab your phone.
Messages: Don’t just read messages. Scroll to the bottom to reply. You can use Siri dictation (which is scarily accurate), send an emoji, or use the “Scribble” feature to draw letters with your finger.
Email: You can’t reply to most emails on your watch, nor would you want to. It’s just for reading a quick “blurb.” But the Handoff feature is brilliant. If you’re reading an email on your watch, just unlock your iPhone. A little icon will appear in the bottom-left corner of your phone’s lock screen. Swipe it up, and that *exact* email will be open, ready for you to reply.
Conclusion: Your Watch, Your Way
That’s the crash course. The Apple Watch isn’t just a screen for notifications. It’s a powerful tool for payments, health, and communication. Now you know the real-world shortcuts: ditch the honeycomb view, go silent with prominent haptics, and master that double-press on the side button for Apple Pay. You’ll be using it like a pro in no time.